Showing posts with label chocolate. Show all posts

Monday, March 11, 2013

Cookie Sliders

Cookies are good, but cookies with frosting are even better. The only problem is if you frost a cookie on top, there is no good way to stack and store them or they get ruined. This weekend I came up with the solution for that: Cookie Sliders. If the frosting is in the middle you can stack them all you want and they will stay in mint condition. You can pack them to stay fresh and they will come out looking just as pretty as they went in. 


For the sugar sliders I used my favorite sugar cookie recipe, and for the chocolate chip sliders I used the perfect chocolate chip cookie recipe. Then I added a dollop of white frosting in the middle and stacked 2 together. For the sugar set I added sprinkles to the sides. Enjoy!

Wednesday, February 27, 2013

February Birchbox Review

It's time for my February Birchbox review. To find out more about Birchbox view my first post or their website.


At first look this month I thought  my box seemed a little on the empty side, but after digging in I realized it was packed with some quality samples. I had to remind myself, it's not about quantity but quality. 


We will start with the Ghirardelli Milk and Caramel Square because of course it caught my eye first. I mean what girl doesn't want to get chocolate as a gift. Yum!


I can't wait to treat myself with Kerastase's Chroma Riche Masque. It is a hydrating mask for highlighted or color treated hair. Being a professional hairdresser I know this is a great brand, so I have no doubt that this will be an awesome fix for my winter dull and dry strands. 


I am very excited about Jouer's Matter Moisture Tint. In my last Birchbox I received a matte moisturizer and I have been loving the tinted bb creams, so I think this combination might be the perfect all-in-one product for me. 


I have mentioned this before, but I am pretty much an all gel polish girl now. It's not to say I don't appreciate a bottle of Color Club nail polish (in mamba), but I probably won't use it. Also I am not a fan of red, so this might end up being gifted off to someone else. 


Lastly I found Vasanti Brighten Up face cleanser in my box. I always love trying new face washes, so I can't wait to give this cleanser a whirl and see how my face feels after a couple of days. 

Do you get Birchbox? What did you get this month? 

Don't forget to follow me!

Wednesday, January 9, 2013

Baby Bites

In NYC there is a cupcake place called Baked By Melissa that sells bite sized cupcakes. They are a huge hit, and I must say are pretty tasty as well. With this in mind Bill came up with what he thought was a brilliant idea, so I put it to the test. Mini chocolate chip cookies.


Not sure what recipe to turn to I choose my pinterest favorite, The Perfect Chocolate Chip Cookie.

2 3/4 c (14.5 oz) all-purpose flour
1 t baking soda
1 t salt
1/2 c (4 oz) unsalted butter at room temperature
1/2 c (4 oz) Crisco (plain or butter flavored, I prefer plain)
1 c (6.5 oz) light brown sugar
1 c minus 2 T (6.5 oz) white sugar
2 large eggs
1 1/2 t vanilla
1 1/2 c (10 oz) semi-sweet chocolate chips (Hershey's brand is best)
  
1. In a small bowl mix the flour, salt, and baking soda until the ingredients are evenly distributed.  Set aside.

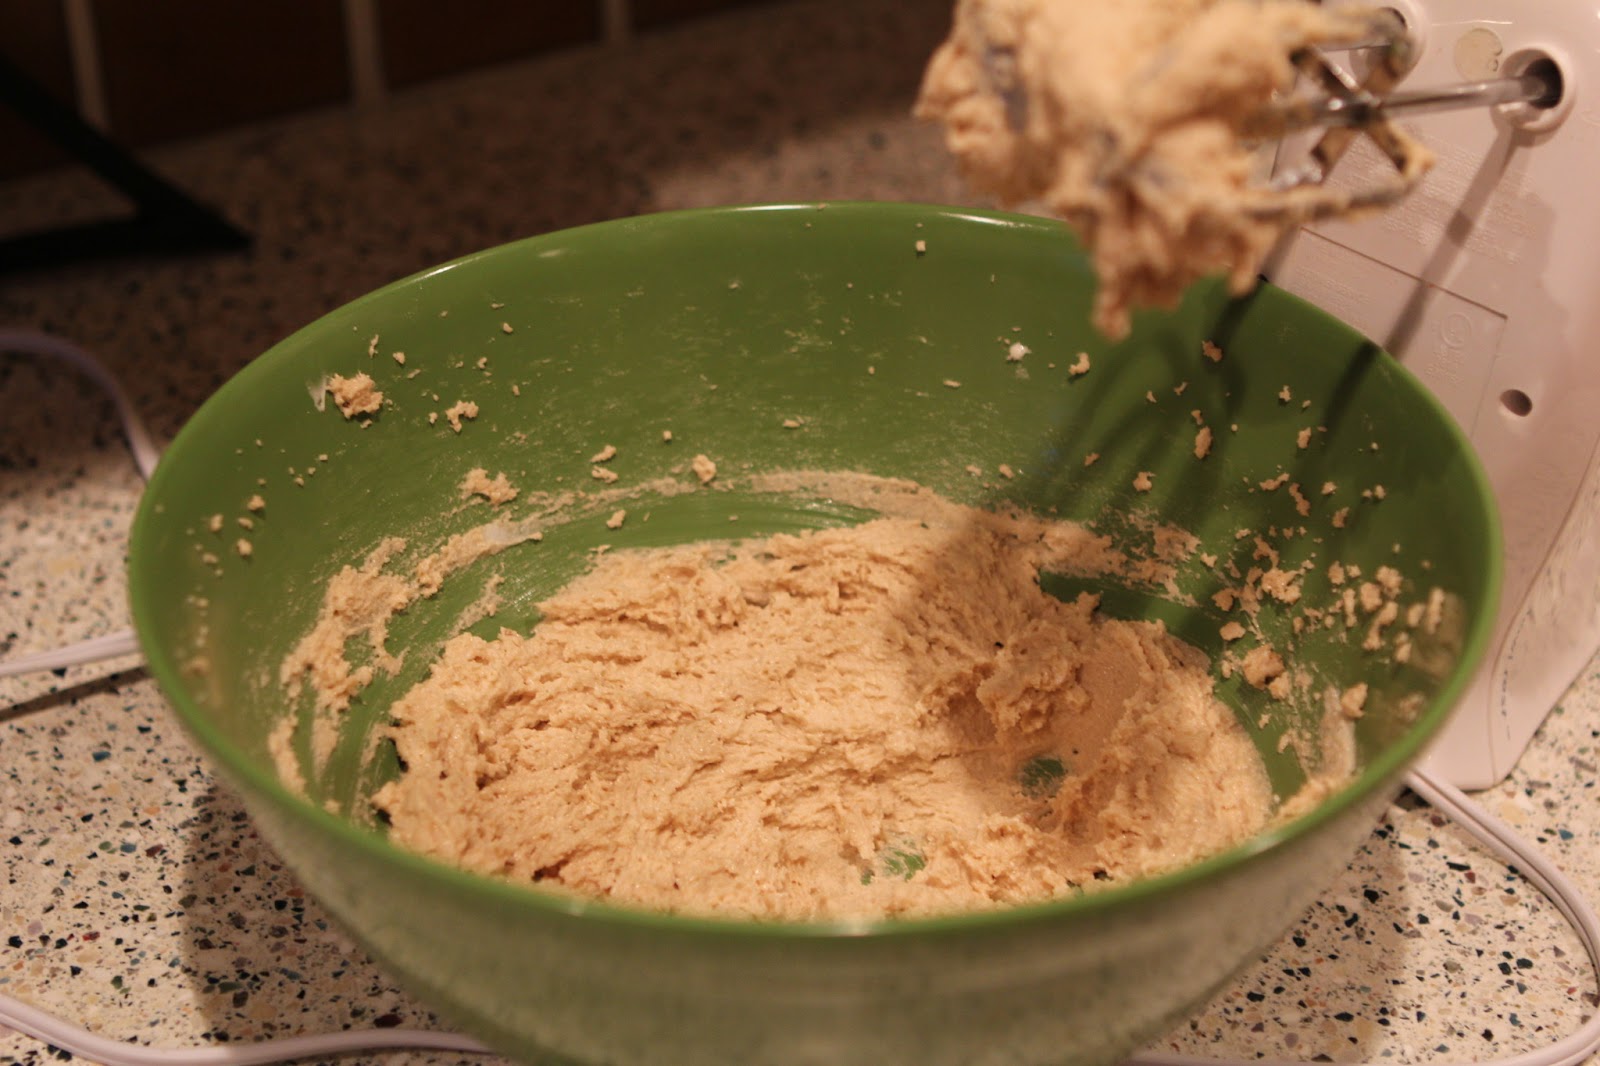
2. Using a mixer, cream the butter and shortening on high until light and fluffy 1-3 minutes.


3. Add both sugars and beat on high 1-2 minutes. 

4. Add eggs and vanilla. Beat until fully incorporated.


5. Add the flour mixture and mix until just incorporated.


6. Touch test the dough.  It should feel slightly sticky, but not much should stick to your finger.  If it is very sticky add flour 2T (.5 oz) at a time.  If it is firm or dry, you have added too much flour and there is not a good way to reverse this.

7. Using your hands, roll the dough into balls your choice of size (I tried a variety of sizes ranging form a penny to quarter). Place on an ungreased cookie sheet and add one chocolate chip to each cookie dough ball.  


8. Cover and refrigerate 30 minutes or until firm.  You can hold the dough up to two days in the refrigerator or up to six months in the freezer. 

9. 15-20 minutes before baking, position the oven rack to the second highest setting. Preheat the oven to 375.  

10. Remove the dough from the refrigerator and bake 4-7 minutes depending on size of your balls.  They are ready to come out of the oven when they are domed and puffy, show a few signs of browning and look a bit underdone.  


11. Leave the cookies on the cookie sheet for (10)2 minutes.  Remove them to a cooling rack so they will cool evenly.  Wait ten minutes, then serve your Perfect Chocolate Chip Cookie!


 We took them with us to our New Year's party and they seemed disappear quickly!

Tuesday, November 20, 2012

Cake Pops

Every year I have said I wanted to do something for my clients around the holidays to let them know how much they mean to me. This year I finally figured it out. Cake Pops! I mean who doesn't love cake and frosting mixed together popped on a stick in bite size form covered in chocolate?! That's what I thought. 


All you need is a box of cake mix (whatever flavor you would like) and a tub of whipped frosting.


Bake the cake according to the directions on the box.


Let the cake cool completely and then crumble it all up into a bowl.


Mix the crumbled cake with a full tub of whipped frosting till evenly combined.* Form the mixture into 1" sized balls with your hands. Chill the balls in the refrigerator for a couple of hours till firmly set.**

 Melt your chocolate for 1 minute in the microwave at 50% power. Stir thoroughly and then heat on 30 second increments at 50%. Stir after each 30 seconds till completely smooth.

Dip the end of your cake pop sticks in the melted chocolate and push stick no more than 50% into ball. Do this to all of your cake balls and let set up in the fridge for another several hours. I use a styrofoam block to hold cake pops on once you put the stick in them.

Once set up melt more chocolate according to directions above. Dip cake pops into melted chocolate to completely cover them, tapping off excess chocolate. 

Sprinkle with embellishments or leave plain to drizzle another color chocolate on top later.   


*I always use the whipped frosting when making cake pops because I find if  I use a full tub of the regular frosting it is to much. If you are going to use the regular tub of frosting I would only use half a tub.

**Do not put your cake balls in the freezer otherwise once the chocolate hardens it will crack.